Forms
The Forms page allows you to create web forms which you can add to your web site.
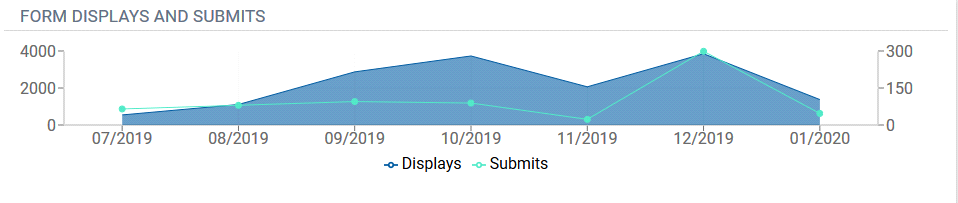
The page lists all currently available forms in the database and shows usage counters and charts.

- Displays - shows how many times forms were visited this and the previous months.
- Submits - shows how many times forms were submitted this and the previous months.
- Conversion - shows how well the forms converted visitors to form submitters, that is, the ratio of counts of form submits vs. count of form displays.
- Active Forms - shows how many forms have been displayed this and the previous months.
The Form Displays and Submits chart shows how many forms were displayed and submitted per month:
To create a new form click NEW FORM.
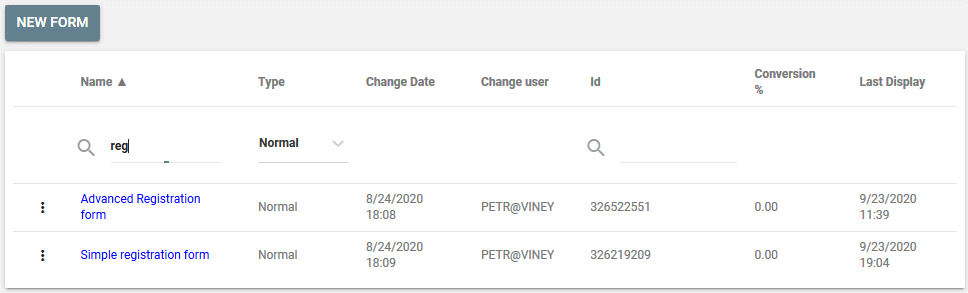
If needed, click in the header of any column to sort forms by values of the column.
You can search forms by Name, Type, and Id fields:
Click  in the first column of a form row, you want to invoke a command menu for:
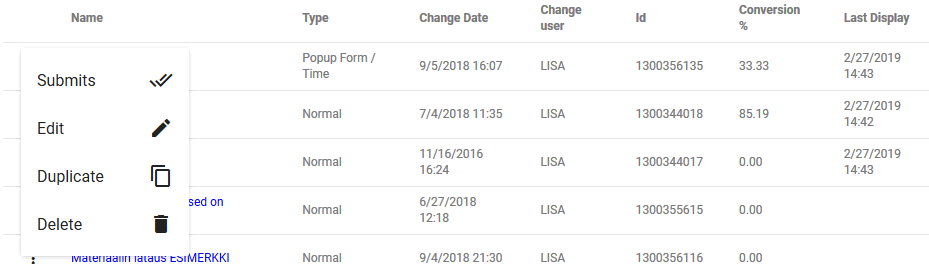
- To see detailed information about all times the form has been submitted, choose Submits
 . You will see who and when has submitted the form and what data it included.
 - To edit the form, choose Edit
 in the form row.
 - To create a copy of the form, choose Duplicate

- To remove a form, choose Delete

Creating a Form
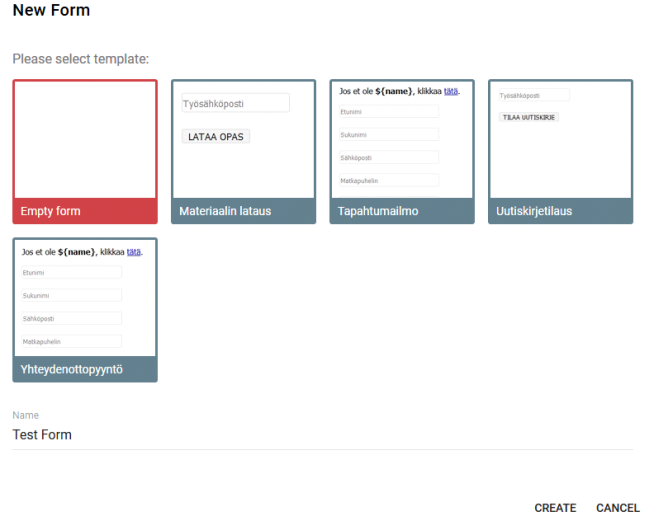
- To create a new form click NEW FORM.
- Select a form template or select "Empty form" if you want to start from scratch:
- Enter a name for your form.
- Click Create. The form will be created.
Editing a Form
An open form is located on the right side of the Forms page. Its global settings can be configured in the pane below the form.
Use the Add, Add Custom and Edit tabs to edit and configure fields located on the form :
- Use the Add tab to add fields which can be saved to the Vine database as fields of Vine objects.
- Use the Add Custom tab to add design elements to the form.
- Use the Edit tab to edit fields.
Adding a Field
To add a field to the form , just drag it from the Add or Add Custom tab to the place on the form where you want the field to be located. When you drop the field, the edit tab will automatically open where you can configure the field.
Moving a Field
Simply drag a field to a new location. You can use the  icon as a drag handle.
Removing a Field
Point at the field you want to remove and click the dust bin icon  .
.
Copying a Field
Point at the field you want to copy and click  .
.
Saving Form
To save a form, click  . The Save button is red when there are changes to be saved in your form.
When there are no changes to be saved or the form is invalid then the Save button becomes gray and can't be clicked : 
Checking Form Submits
To see the detailed information about all times the form has been submitted, click  . (This command shows the same "Submits" page shown using the Submits command in the list of all forms.)
Click Export to Excel to export the list of form submits into an Excel file.
Field Attributes
Label
Label - Gives the field a name that will be visible on the form.

Alignment
You can align fields to LEFT, CENTER, or RIGHT.
For example, here the Phone field is aligned to the left and the E-mail field is aligned to the right:

Select <Not Set> if you want to rely on CSS or browser defaults for the field alignment.
Label Appearance
- Select Left to put the label to the left of the field:
- Select Top to put the label above the field:
- Select No Label if you do not want any label:


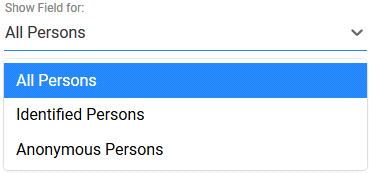
Show Field For:
This setting defines which tracked persons the field will be visible to:
Mandatory
The form user has to fill in the mandatory fields. Mandatory fields have a red asterisk next to them 

Width
Sets the width of the field.
Placeholder
In this field, you can enter text that will be visible in the field until the user types new text:

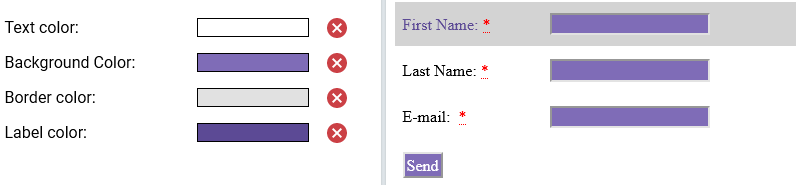
Color Settings
Use the color pickers to set the colors of text fields:
Hidden
Makes the field hidden to the form user (used for check box fields).
Text
Enter the static text visible to the user.
Custom attributes
Click Add Attribute to add any needed attribute.
For example, you can use the "checked" attribute to make a check box selected by default:
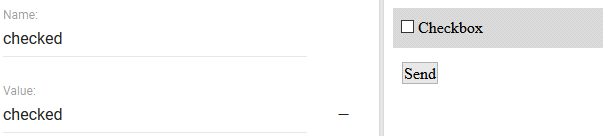
The published form will have the check box selected by default:

Click the minus sign to remove the attribute.
Attributes for some Special Fields
Submit Button Attributes
The Submit button is present on every form and you cannot remove it.
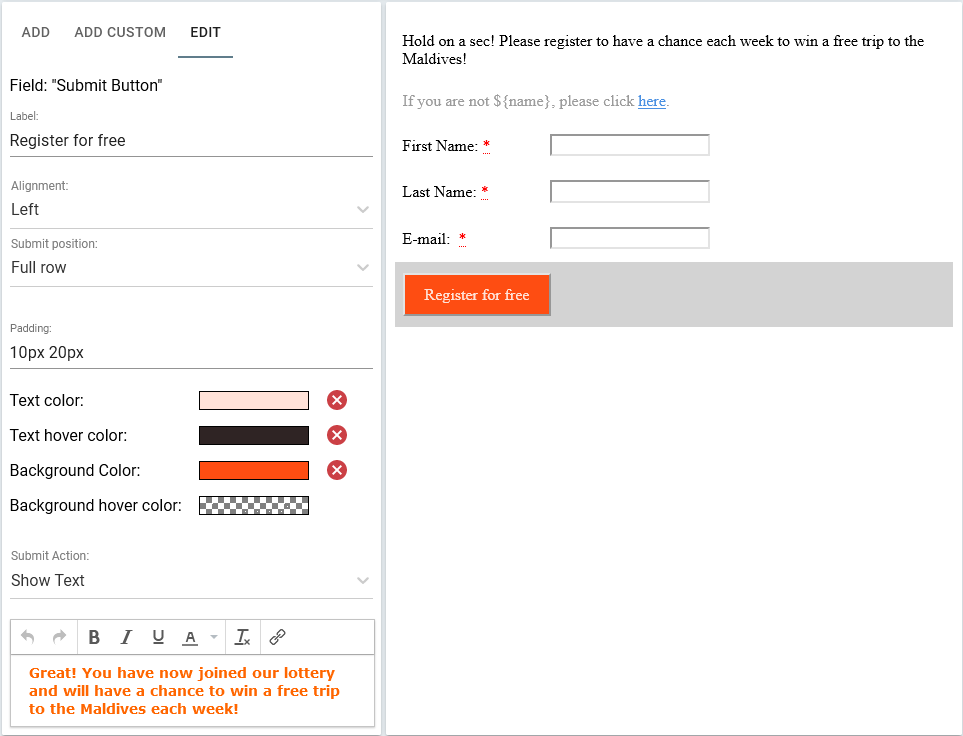
Besides the general field attributes, such as Alignment, the Submit button includes the following special attributes:
- Use Label to give a name to the button that submits the form.
- Use Submit position to locate the Submit button relative to the full form row or to one of its two columns (which divide the form in half). Using this setting you can, for instance, tune the alignment of the Submit button inside each column or in full row.
- You can add padding, text and background colors, as well as text and background colors when you move your mouse pointer over the button.
- Use Submit Action to define what will happen when the user clicks the Submit button on your form:
- Select Reload current page in cases when you want to reload the page. For example, in a login form on a landing page where an anonymous user can log in and the page will reload customized to the identified user.
- Select Redirect to saved landing page if you want a selected landing page to load when the user clicks Submit. Use the Target field to configure how and where the page has to be opened.
- Select Redirect to another page if you want a web page to be opened when the user clicks Submit. Provide the web address of this page in the URL field and configure how and where the page has to be opened using the Target field.
- Select Show text and enter text to be shown when the user clicks Submit on your web form.
- Select None if you want Submit to do nothing.
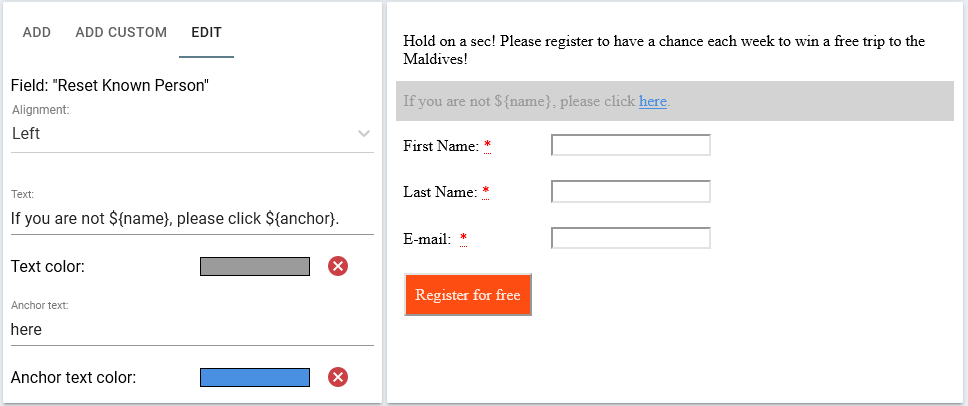
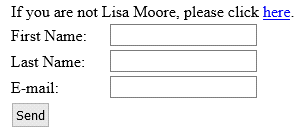
Reset Known Person
Add the Reset Known Person field so that the user can change the current person. (For example, in cases when a new person uses the form in a browser where already the id of another user is stored in a cookie). This field is shown only for identified persons.
Checkbox types
You can select the following types for a checkbox field:
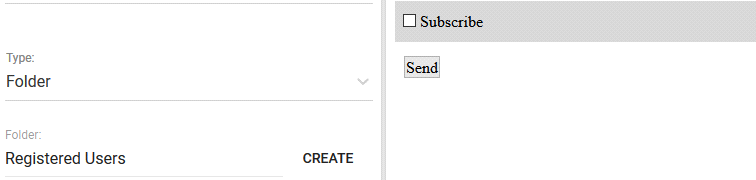
- Folder. Specify a database folder which the form user will be
included into. You can find a folder by its name. Allows to select an existing folder or create a new one.
Type the name or partial name in the Folder: edit box and matching folders will appear in the list below where you can select the one you need or click Create if you need a new folder: - Event. You can select an event from the Event drop-down list. The form user will be
connected to the event you selected.
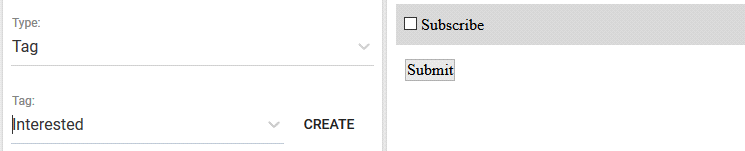
Open the list and select the event you need. - Tag. You can select an existing tag from the Tag list or click Create to make a new tag. The form user will be
tagged (added to the tagged folder you selected).

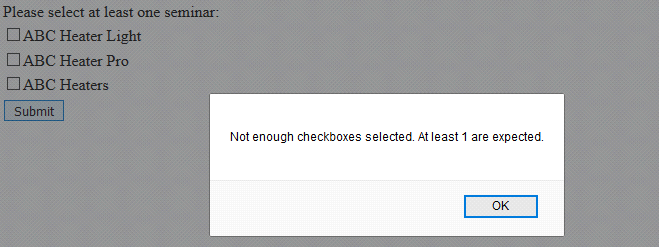
Checkbox Grouping
You can group several check-boxes on the same form and require a number of those to be selected before the user can click Submit. (For example, it is often reasonable to require at least one check-box selected.)
To group checkboxes:
- Add checkboxes to the form.
- Use the Group attribute field to enter the same group name for each checkbox.
- Use the Min. checked field to specify how many checkboxes you require to be selected minimum for this group.
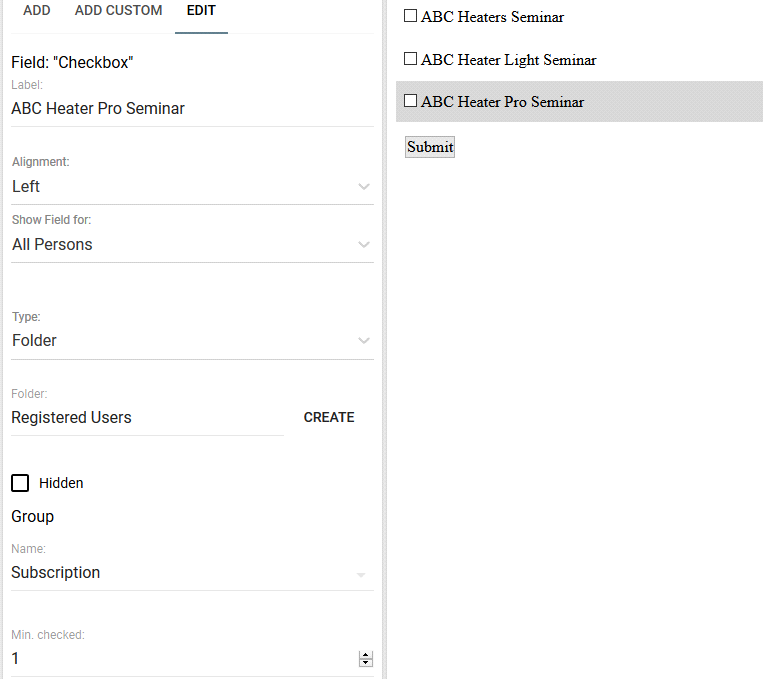
This form will require from the user to select at least one checkbox:
Configuring Base Form Settings
You can configure the main form settings using the Base Information pane at the top:
- Use the Name field to give the form an internal name. Users will not see this name anywhere.
- Select Send Form by Email if you want to send the form by email when the form is submitted.
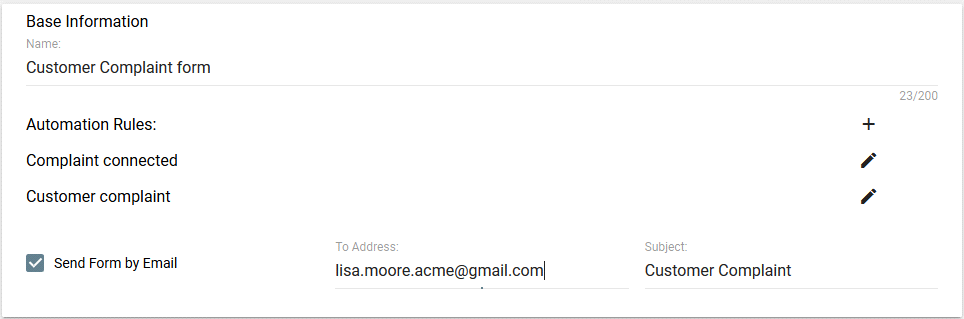
Adding an Automation Rule
Often you want to use an automation which starts when your form is submitted. For this, the automation rule must have the Form Submitted trigger. The Automation Rules list shows all rules which include the Form Submitted trigger for this form.
To edit a listed rule, click next to it.
If you want to create a new automation rule then please click +.
Styling with CSS
If you want to custom tune your forms then click  and insert your own CSS using HTML classes you can check using browser developer tools.
Using "CSS" Field
Use the CSS field to enter your CSS to adjust the look of the whole form and its elements.
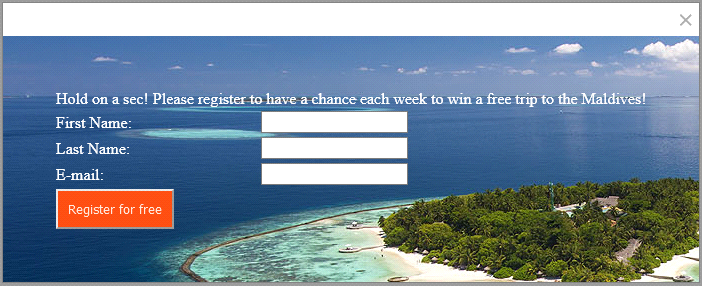
For example, if you have created a simple registration form:
You might want to add the following CSS :
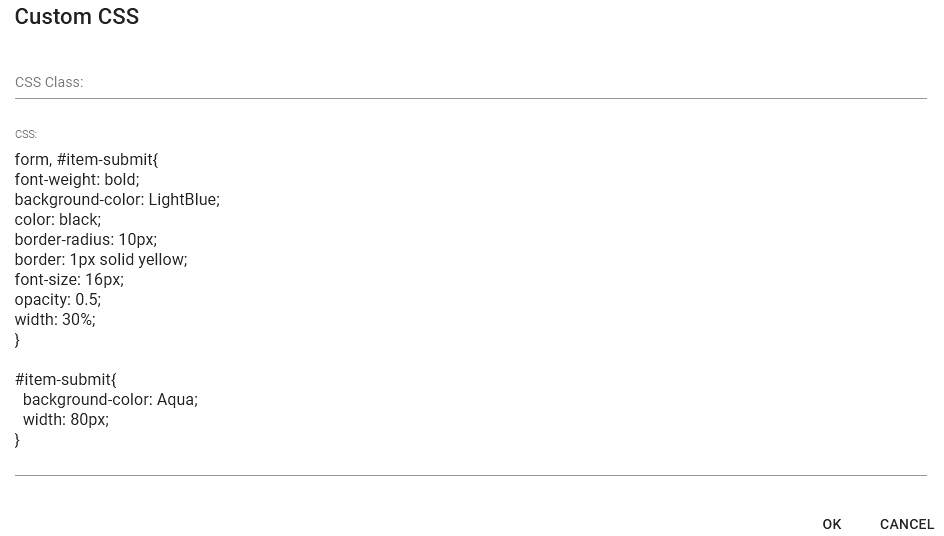
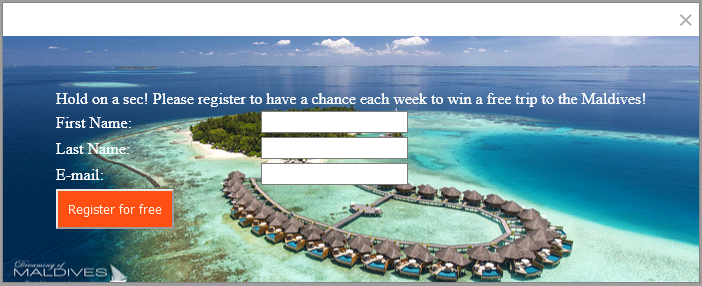
The CSS above will convert the form into the following more colorful version:

Using "CSS Class" field
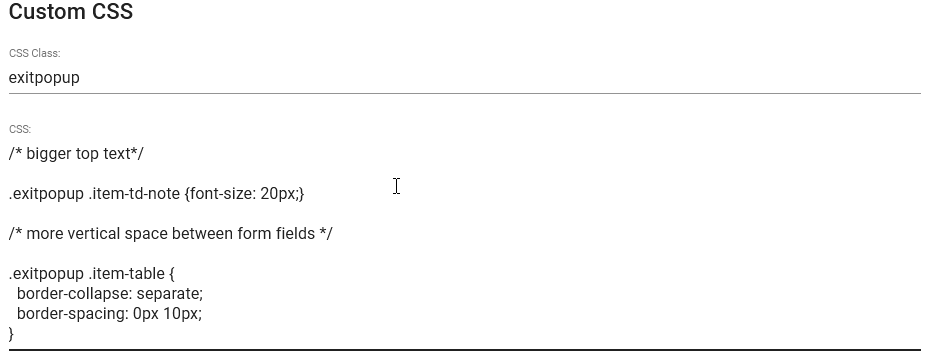
Sometimes you will need to use the CSS Class field to add your own class name to the form. This can help, for example, to reuse the same CSS for different forms of similar type.
For example, for a popup form:
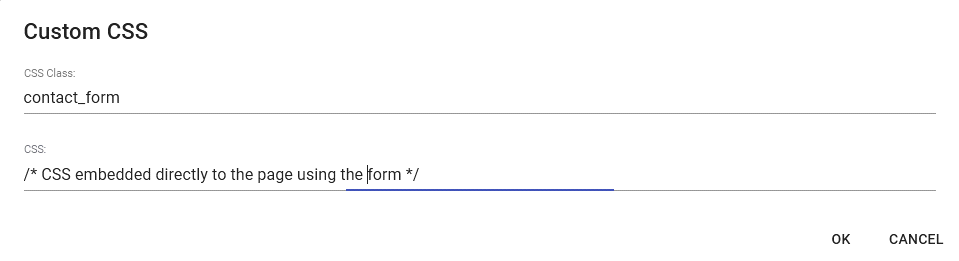
Or you can only give the class name to the form, but your CSS using this class can be directly embedded to the page where the form is used.
Configuring Other Form Settings
You can configure more form options using the pane below the form:
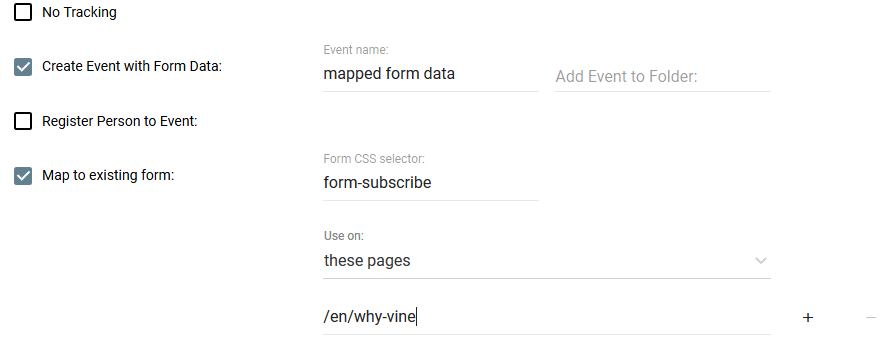
- Select No Tracking if you want this form to be used for entering data on leads without registering the current user. (For example, such forms can be used by your sales person to enter data about new leads without overwriting the sales person's own data.)
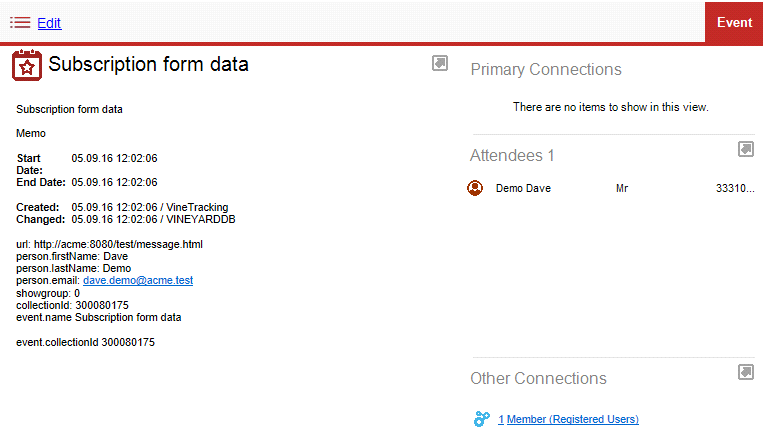
- Select Create Event with Form Data if you want to create an event with data the user has submitted in the form:
 An event like this will be created:
- Select Register person to Event if you want the user to be able to register for events in the future listed in the Events for Invitation tool.
- Select Google Analytics to add event tracking Category and Action. (If you are not familiar with Google Event tracking you can find more information here.)
- Select Custom Warning Messages if you want to change the text of standard warning messages shown to form users.
- Select Map to existing form to attach a Vine form to an already existing web form on your site. You can use this, for example, to attach to a login/registration form and get the user identity for tracking. Please note that only a limited set of fields and settings is supported for such mapped forms.


Popup Forms
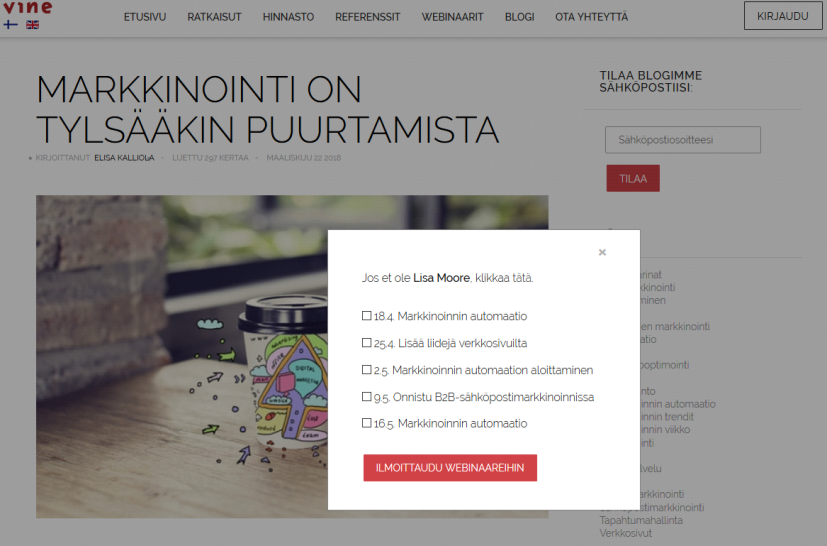
You can mark a web form as a Popup Form for tracked pages of your web site and define conditions when it should be shown.
For example, a form can be made to pop up when a site visitor leaves a page:
You can add padding, text color, background color, and background image to you pop-up form:
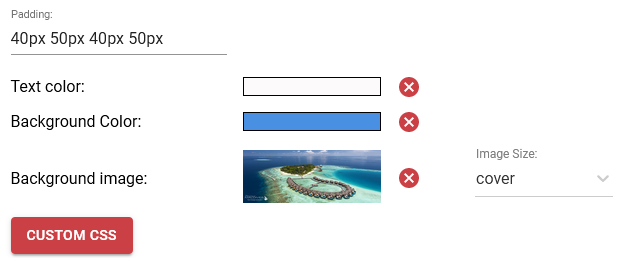
To add a setting, click in its preview box. To remove a setting, click  next to it.
Adding Padding
Use the Padding field to add the value of the Padding CSS property to create space around the form:

Setting Text Color
Click in the Text color box and use the color picker to set the color for all text on the form.
Setting Background Color
Click in the Background color box and use the color picker to set the color that will be used for the form. It is recommended to set the background color even if you use a background image as it can be used in those cases when the image could not be loaded for any reason.
Setting Background Image
Click in the Background image box and select an image in the Image Editor.
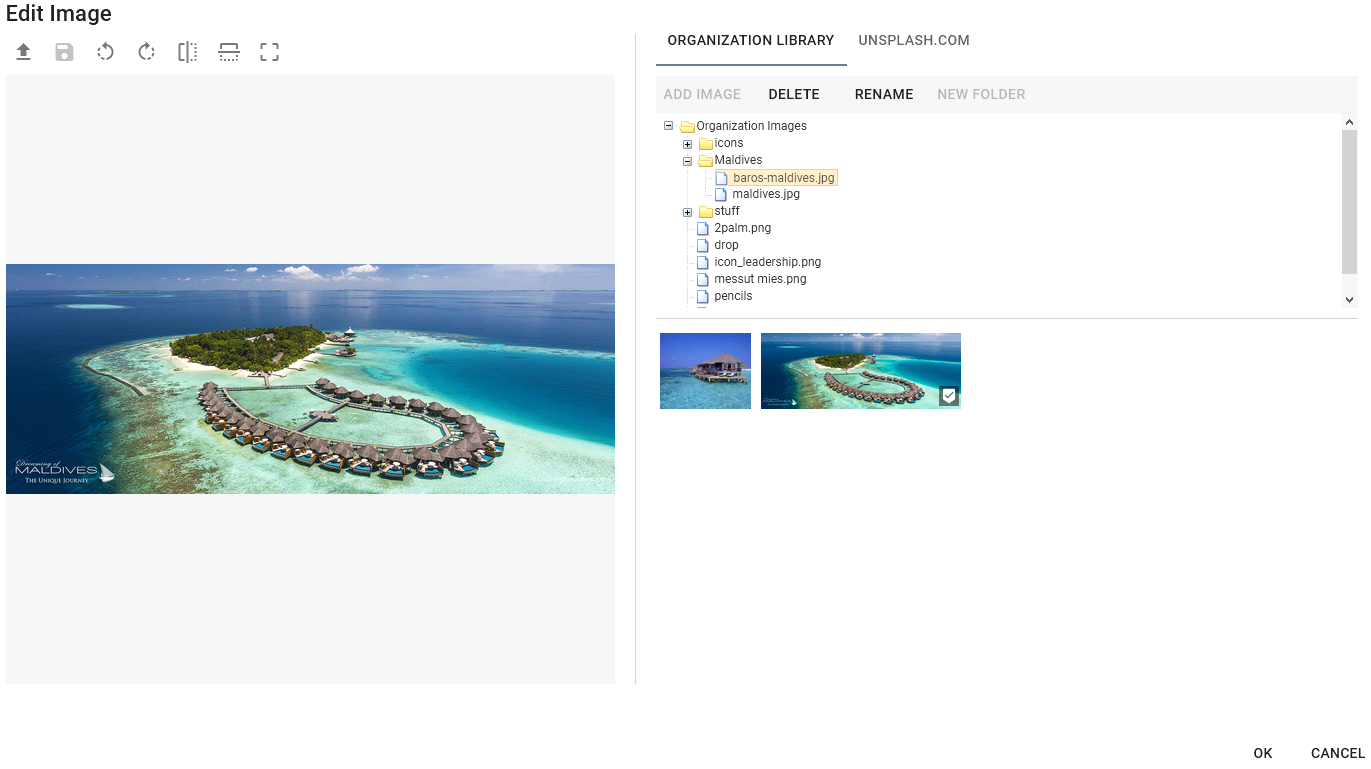
If needed use the editor toolbar commands to adjust your image. Click OK when ready.
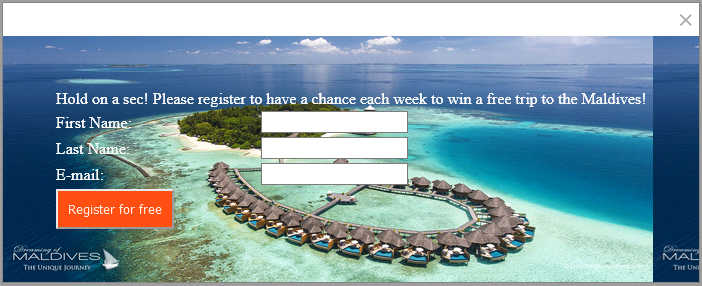
Select an image size setting (cccccc) from the Image Size list:
- auto. The background image is displayed in its actual size in the top left corner. If the image is bigger than the form, then it will be cut.
- Cover. The image will be resized proportionally to its minimum size fully covering the whole form.
- Contain. The image will be resized proportionally to its maximum size fully visible inside the form.
If the image is less than the form then it will be repeated.
To add extra design to your form, you can set custom CSS.
To make a form work as a Popup form:
- Select Popup Form.
- From the Show list choose when it should be shown:
- Before Exit. The form will pop up whenever a page visitor shows intentions to leave the page. For example, when the mouse cursor leaves the page window.
- After Scrolling. The form will pop up after a page visitor scrolled the page more than you specified in percents.
- After Time. The form will pop up when a specified amount of seconds has passed.
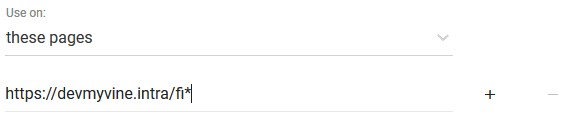
- From the Use on list select web pages where you want this form to appear. Please note that one web page can have one form of each type. It is not recommended to have more than one form of the same type available for a page as it is very complicated to determine which one will be shown in various circumstances.
- all pages. The form will work for all tracked pages (all pages where your tracking script is added).
- these pages. You need to specify pages where you want the form to appear. You can use wildcards at the end of web address.
- all pages but. You need to specify pages where you do not want the form to appear. The form will work in all tracked pages except the ones you set here:
- From the Show to list select who you want the form to be shown to:
- All Persons. The form will be shown to all web page visitors.
- Identified persons. The form will be shown only to recognized web page visitors.
- Anonymous persons.The form will be shown only to unknown web page visitors.
- Select Modal if you want to make other elements on the page not accessible when the popup form is shown.
- Use the After closing the form, show again after and After submitting the form, show again after settings to define when you want the form to pop up again in the same browser after the form has been closed or submitted, respectively.


You can only use positive integers to define a period of time in hours or days. Zero means the form can be shown again immediately after it has been closed or submitted.
Previewing a Form
Click  to preview and test your form.
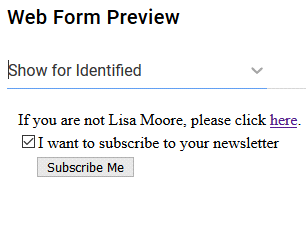
Select Show for Identified to verify your form for known site visitors:
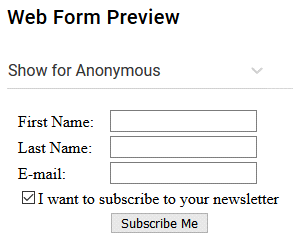
and select Show for Anonymous to verify the form for yet unknown site visitors:
Embedding a Form
Click  .
.
If you created your site using WordPress or Joomla then select WordPress or Joomla, respectively, for instructions to add Vine forms to your web pages. You can do this using the WordPress Vine plug-in or Joomla Vine plug-in, respectively.
For all other systems, select Other and then copy the given DIV code which you need to paste to your web page where you want the form to appear:
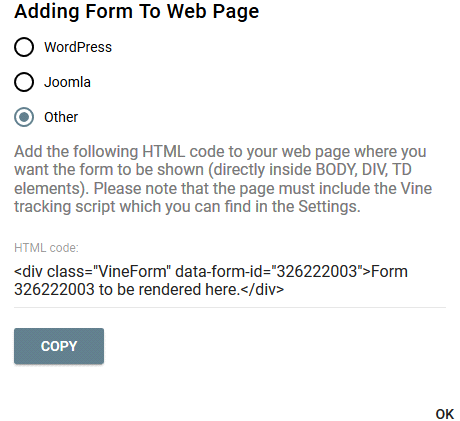
Click Copy and then paste the copied code to the needed place in your page.
For example:
Embedding a Form
<html>
<head>
<!-- This has to be added to all web site pages to make Vine tracking work: -->
<script src="http://vine/track/t.js?sg=0"></script>
<!-- CSS file can be linked if needed -->
<link rel="stylesheet" type="text/css" href="newsletter.css">
</head>
<body>
<p>hi</p>
<!-- This DIV has to be added in the place where you want the form to appear: -->
<div class="VineForm" data-form-id="1300355205">Form 1300355205 to be rendered here.</div>
</body>
</html>
Click OK to close the dialog.